Facility
Good to know
Filter body attachment (optional)
This step is not mandatory, but can facilitate future filter changes and optimize under-sink space.
If you wish to fix the body:
1. Mark the location of the holes with a pencil using the provided template.
2. Drill with a 6 mm drill bit (pre-drill if necessary depending on your material)
3. Insert the provided wall plugs
4. Screw on the filter head
Step 2: Disconnect the existing hose
- Unscrew the pipe that connects the tap to the cold water supply.
- Place a basin or a cloth to collect the residual water.
Step 1: Turn off the water
- Close the cold water inlet valve (turn it horizontally).
Étape 2 : Dévisser le tuyau existant
- Dévissez le tuyau qui relie le robinet à l’arrivée d’eau froide.
- Placez une bassine ou un chiffon pour récupérer l’eau résiduelle.
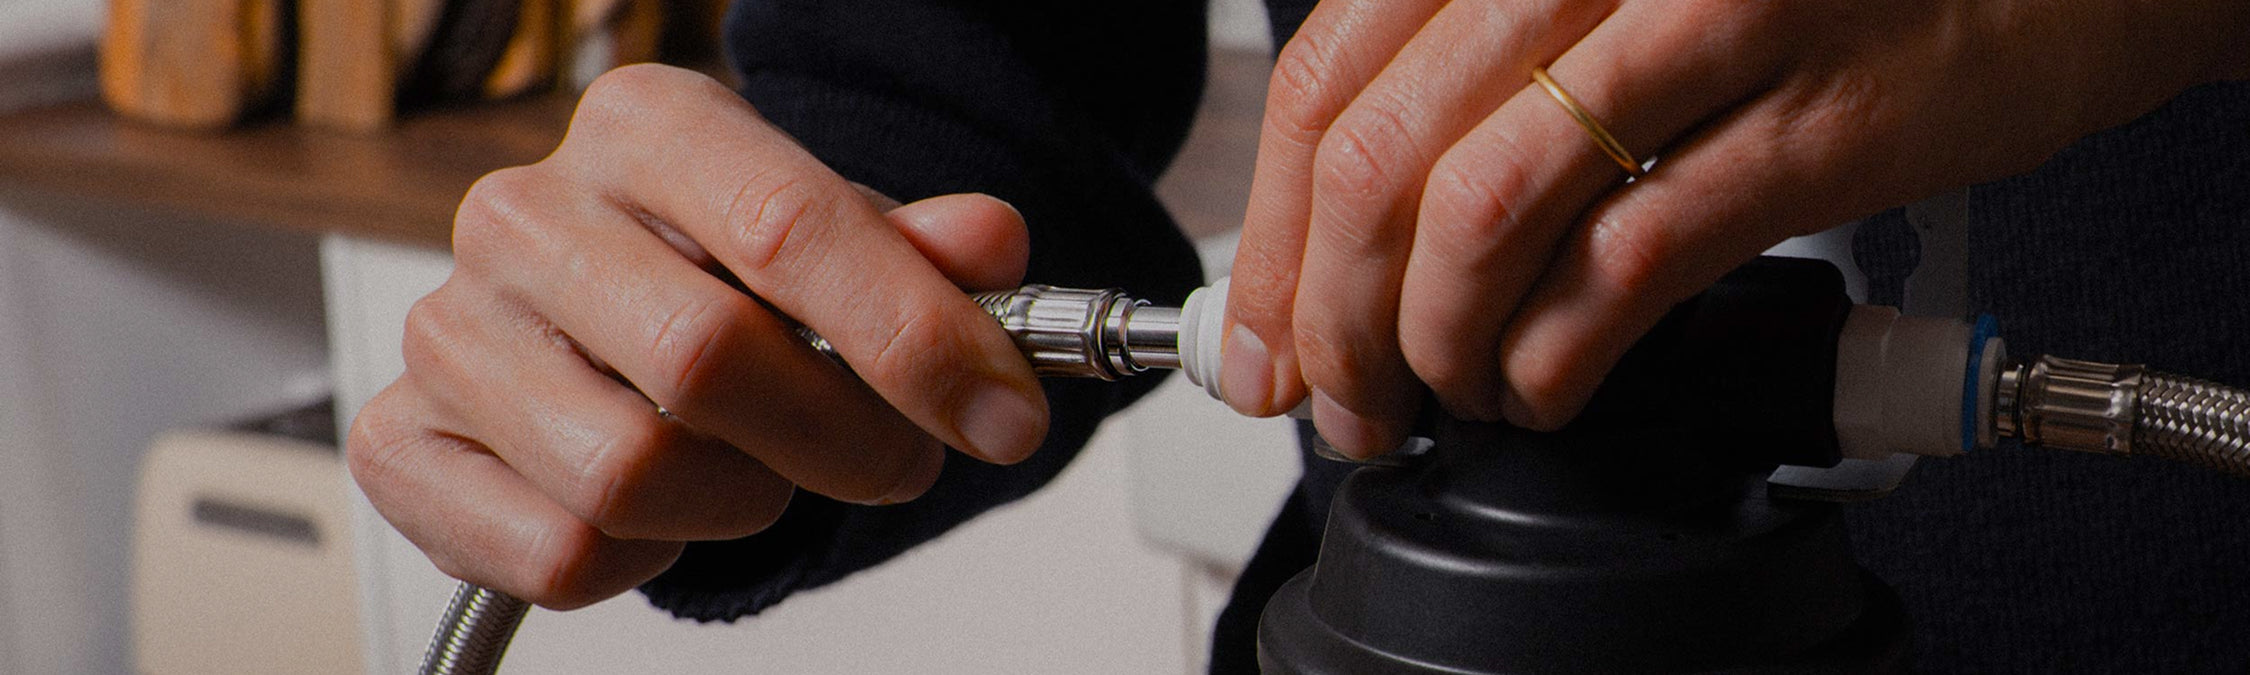
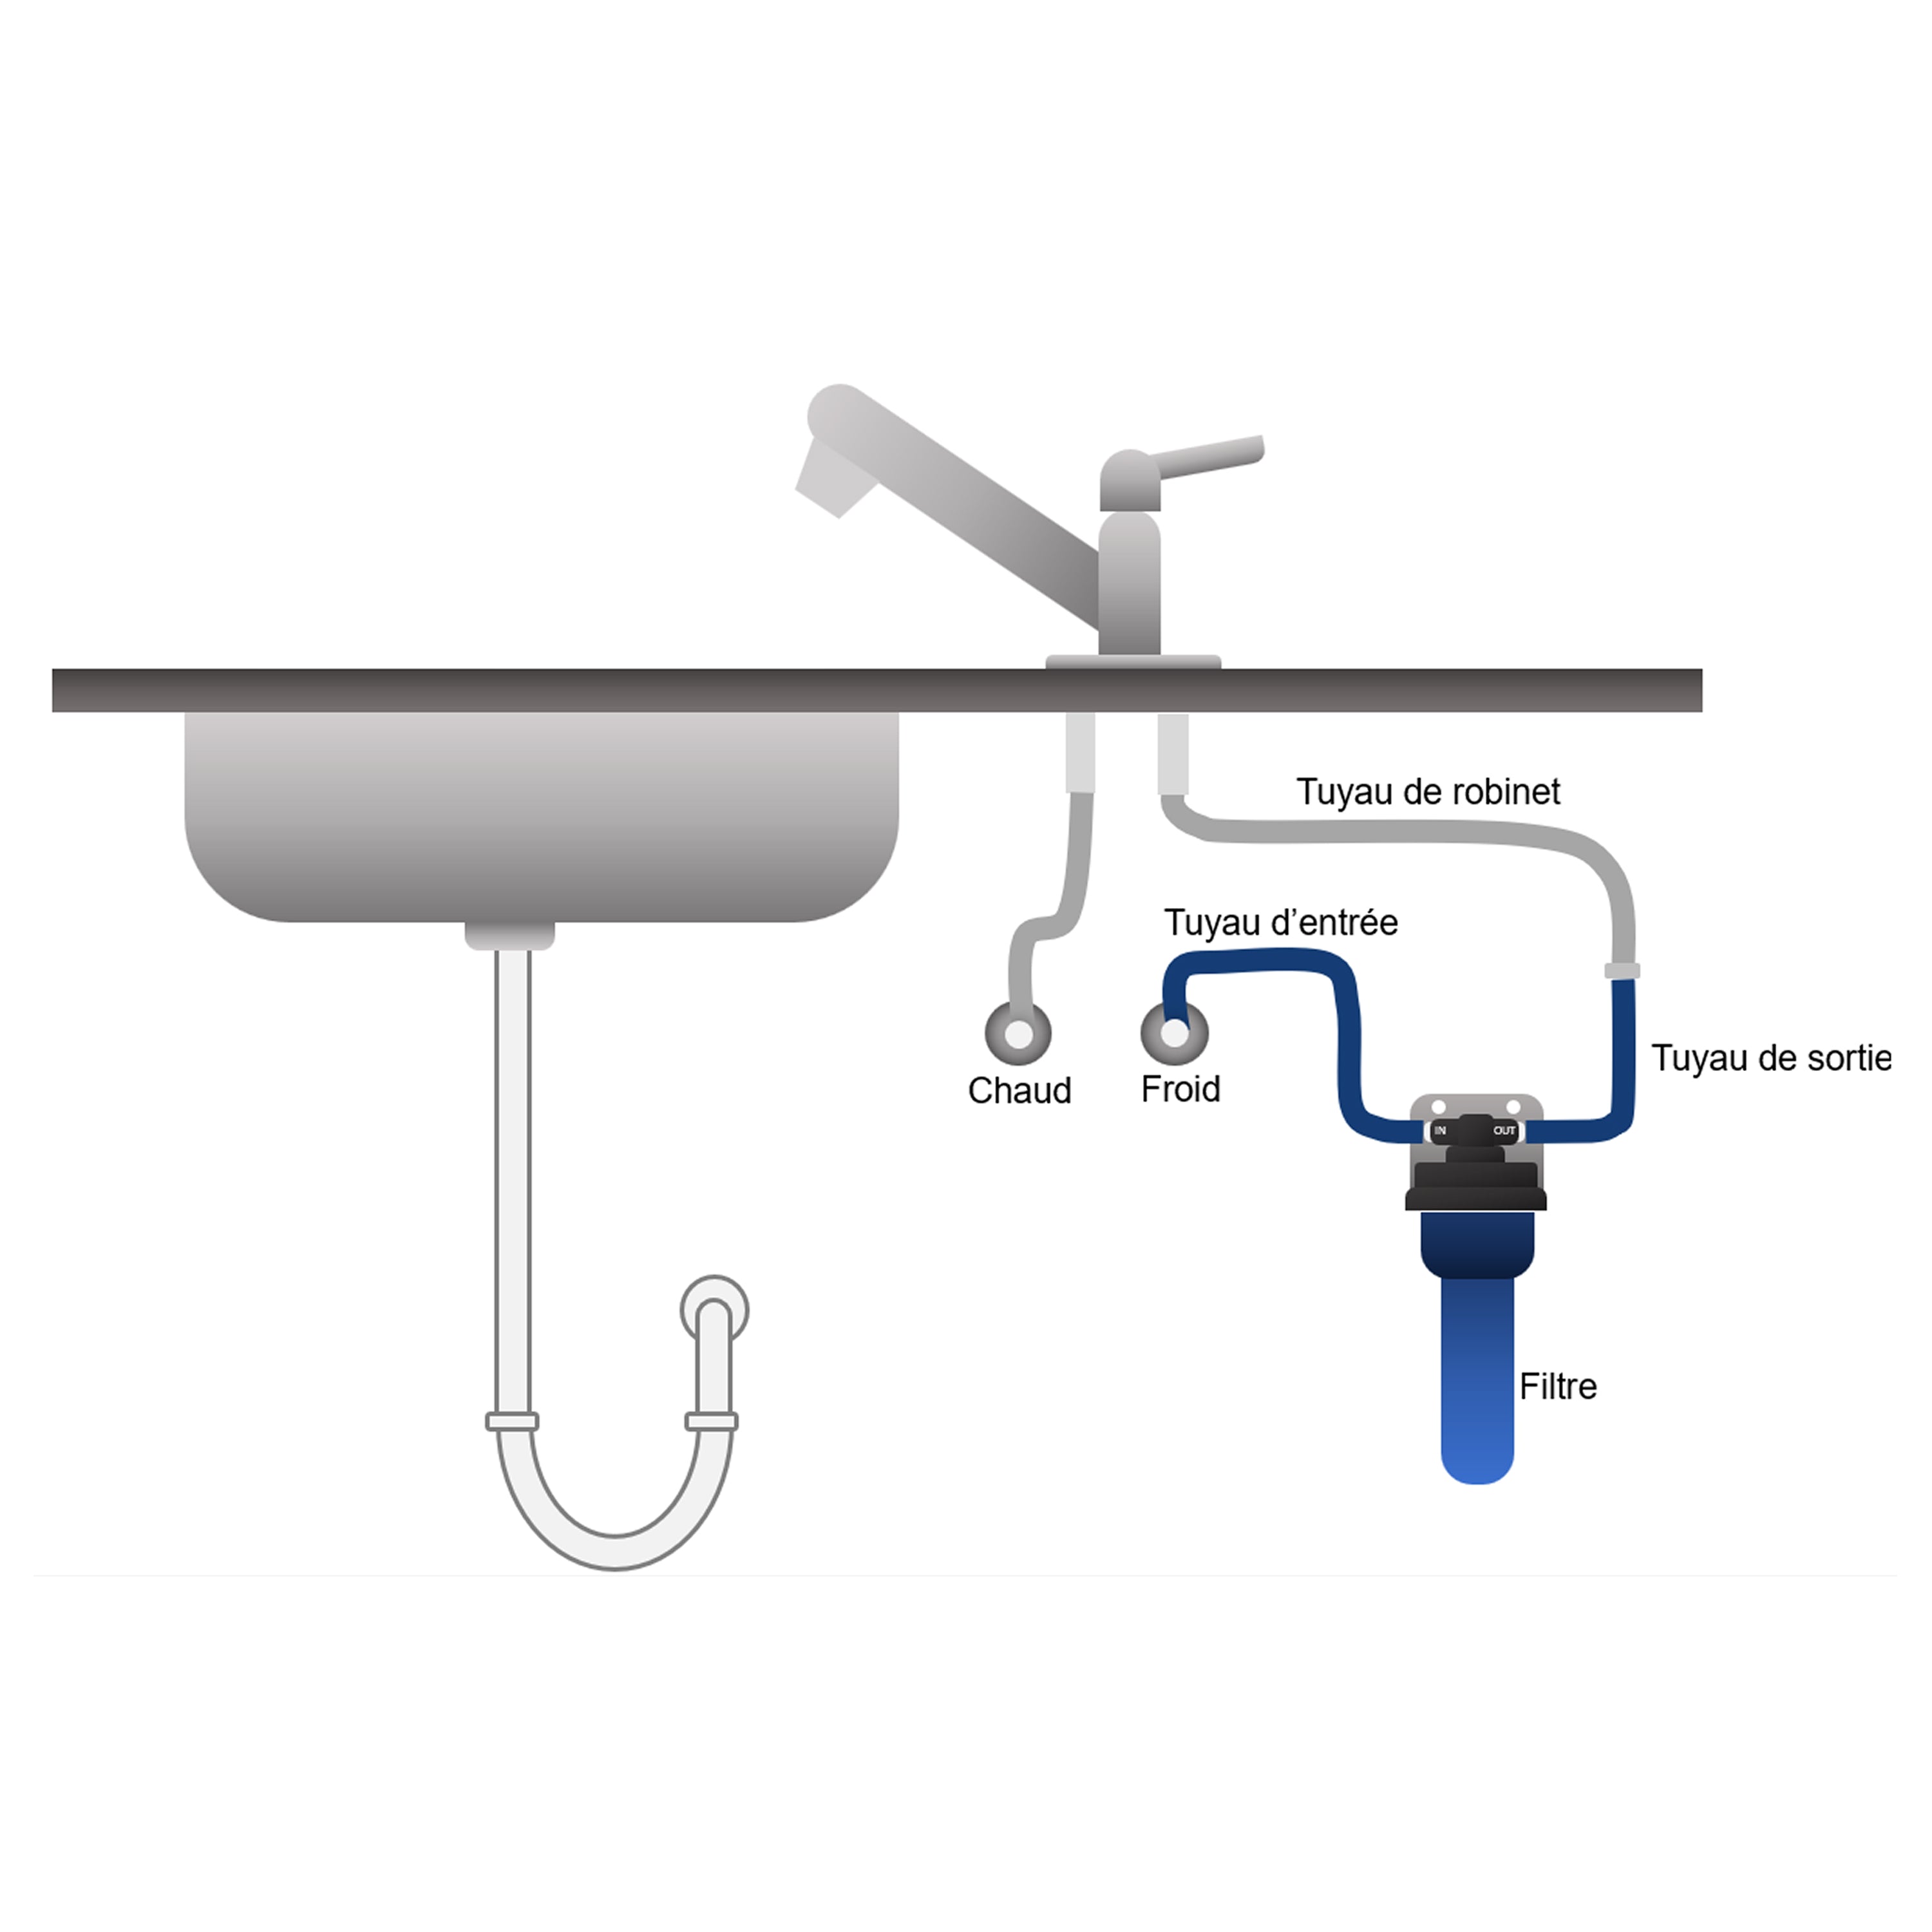
Step 3: Reconnect with the ant pipes
- Screw the first pipe (with the female fitting - with the seal) onto the cold water inlet (male fitting)
- Screw the second hose (with the male fitting) onto the female fitting of your tap
- If your fitting is 1/2 (1521), use the adapters provided for this purpose.
👉 1 unscrewing, 2 screwing back in.
Caution: If your seals are damaged, there may be a risk of leakage. Check for leaks after filling with water.
Step 4: Clip on the filter head
- Remove the blue safety rings .
- Insert the hoses into the connectors until they click. The cold water inlet goes into the IN clip and the connection to the tap is made via the OUT clip.
- Replace the blue safety rings .
If you wish to remove the pipes from the head: remove the safety rings and push the tube towards the head while pressing on the fitting collar to release them.
Step 5: Getting Started
- Reopen the cold water inlet valve.
- Let the water run for 3 minutes to activate the cartridge.
- Your water is ready 💧

Have the fluid filter installed by a professional.
Find a technician near you to install your Fluid filter, thanks to our partner Allo Voisin or Les Dépanneurs. The installer will work with you to find the best solution for integrating your filter.

Retrouver tout notre tutoriel et spécificités du produit en détail dans le document ci-dessous